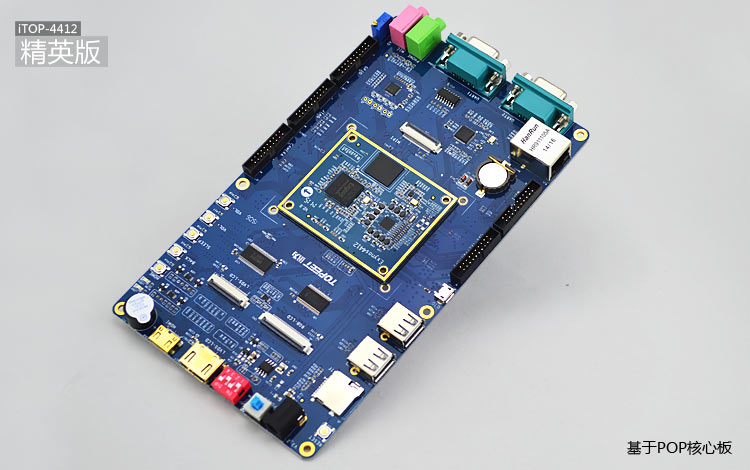
4412_实验
总阅读次

4412开发板实验

开机启动程序
- 编辑启动文件在配置文件尾部添加
1
[root@iTOP-4412]
1
/bin/arm_hello-world &
&是什么???
不用加&也可以,好像跟启动位置有关???
TFTP服务器
在host主机ubuntu安装 xinetd
1
sudo apt-get install xinetd
安装tftp和tftpd
1
sudo apt-get install tftp tftpd
配置/etc/xinetd.d/tftp文件
1
2
3
4
5
6
7
8
9
10
11
12
13
service tftp
{
socket_type = dgram
protocol = udp
wait = yes
user = root
server = /usr/sbin/in.tftpd
server_args = -s /var/tftpboot/
disable = no
per_source = 11
cps = 100 2
flags = IPv4
}创建tftp文件中的目录
/var/tftpboot 是服务器的目录
新建目录
1
root@ubuntu:~# mkdir /var/tftpboot
添加权限 后 重启服务
1
2
3
4
5
6
7
8
9
10
11root@ubuntu:~# chmod 777 /var/tftpboot
root@ubuntu:~# /etc/init.d/xinetd restart
Rather than invoking init scripts through /etc/init.d, use the service(8)
utility, e.g. service xinetd restart
Since the script you are attempting to invoke has been converted to an
Upstart job, you may also use the stop(8) and then start(8) utilities,
e.g. stop xinetd ; start xinetd. The restart(8) utility is also available.
xinetd stop/waiting
xinetd start/running, process 4102
root@ubuntu:~#
设置好目标板4412与宿主机机器ubuntu处于统一网段后
在目标板4412
1 | [root@iTOP-4412] |
第一个test_local 下载后的文件名
第二个test_take 宿主机器上ubuntu的服务端的文件
NFS网络文件系统
在宿主机ubuntu安装
1
root@ubuntu:~# apt-get install nfs-kernel-server
修改 /etc/exports
在最后一样添加
1
/home/minilinux/ *(rw,sync,no_root_squash)
/home/minilinux共享目录
*:代表所有的网络段访问
rw:是可读写权限
ync:资料同步写入内存和硬盘
no_root_squash:是ubuntu nfs客户端分享目录使用者的权限,如果客户端使用的是root用户,那么对于该共享目录而言,该客户端就具有root权限。重启相关服务
/etc/init.d/portmap restart
/etc/init.d/nfs-kernel-server restart
用法
在目标机器挂载宿主机器的目录1
mount -t nfs 192.168.1.101:/home/minilinux/system/mnt /usb
如果报错
1
No such device
请查看目标版内核是否支持nfs
cat /proc/filesystems
如果显示nodev nfs,表示内核有支持NFS
重新配置内核能行
make menuconfig
“Networking support”→“Networking options”→选上“IP: kernel level
autoconfiguration”返回到make menuconfig 的初始界面
– “File systems”→“Network File Systems”
– 选中“NFS client support”,“NFS client support for NFS version 3”,“NFS
client support for the NFSv3 ACL protocol extension”,“NFS client support for
NFS version4”,“NFS client support for NFSv4.1”,“Root file system on NFS”返回到make menuconfig 的初始配置界面
– 进入“Boot options”→“Default kernel command”
配置举例:
– root=/dev/nfs rw nfsroot=192.168.1.107:/home/minilinux/nfs
ip=192.168.1.105:192.168.1.107:192.168.1.0:255.255.255.0:takethat:eth0:off
rootfstype=ext4 init=/linuxrc console=ttySAC2,115200
配置时请写成一行
第二行:第1个IP是开发板的IP,第2个IP是NFS服务器的IP(宿主机ubuntu的IP),第3个IP是开发板的网关。
255.255.255.0 是子网掩码,iTOP 是开发主机的名字(一般无关紧要,可以随便填写),eth0 是网卡设备的名称。


